Thursday, March 14, 2013

Just the Basic's

As many of you know, I never pass up a fun 6 X 6 paper pad!  I think they are so easy to use to create cards.  Many times the papers are scaled down a bit so that they work well for cards and most are double sided which offers unlimited combinations.


Today I want to share cards that I made using one such paper pad.  Using only a few sheets I was able to make three cards and I still have some scrap, ( I may force myself to throw it away because I really need to be more selective with the size of my scraps). 
This paper pad is from My Minds Eye/ Rosy Collection.  I picked it up at Michael's here in Cedar Rapids.  We no longer have an independent store so my only local option is Michael's. 
I do still enjoy that occasional road trip to the Des Moines area with a couple of friend to experience the real scrapbook store though. 
I hope you enjoy these card even though they don't have Copics. (do you believe that I'm saying that)

I hope you enjoy these basic cards and have a Great day!

Nancy

Sunday, February 24, 2013

Carrots Anyone?


As I work today in my craft room moving various seasonal things in and out of storage I decided to take a break and put together this Easter card.  
Several of my crafting buddies and I took a road trip yesterday to the Des Moines area and picked up the carrot paper just to go with this stamp.
This image is a Northwoods Rubber Stamp - Carrot Tops and Bunny.  It always makes me smile when I see this Bunny and only get to use the stamp such a small time during the Easter season.
The card is very basic with simple construction of layering.  I did use some scrap paper, but have listed the name of paper for carrot paper.

Supplies:
Copic: YR61,YR65,YR68,YG11,YG13,YG17,E51,E53,E55,R01,W1
Spellbinders: Long Classic Scalloped Rectangles Large
EK Success Pennant Punch and Sizzix Banners 2 Die
Carrot Paper: doodlebug designs - Flowerbox
Sentiment: #11029mc Carrot Bunny (HoneyPop-Inky Antics)
Misc.: Twine and gems

Hope you enjoy!
Have a great week, we are slated for more snow here in the Midwest.

Nancy


Saturday, February 2, 2013

Ribbon Stash


Today I want to share a quick card that I made with scrap ribbon.  I tend to keep every little piece of everything and recently decided that enough was enough.  I looked at my container that holds my small scrap ribbon and if I couldn't make a nice bow I was getting rid of it.  Looking at the pile of ribbon, I decided to make a card.  Taking an A2 card base, I ran it through my trusty Xyron machine and now having a totally adhesive card front I applied the ribbon in a diagonal design.  With sharp scissor I trimmed the ribbon around the card.  Adding several layered paper flowers, a small brad in the center and a sentiment tag the card is complete.


I hope you enjoyed today's post.


Nancy


Wednesday, January 30, 2013

Just Basic


So, I was cleaning of my desk and decided to construct a card using several items that I've been holding on to.  I recently purchased the hexagon die cut plate from Papertry Ink and tested it using pink shimmer paper. Then I found the fun 'Spellbinder Spiral Blossom Three' flower that has been laying around for several months just waiting for a card.
I picked up this fun bling ribbon at Hobby lobby during one of my shopping trips and was just waiting for a good time to use it, now's the time!  
A Recollections Paper Pad - Valentines Day Collection and a few papers from my scrap stash.  
Simple, Sleek and Just Basic.


Wishing You A Blessed Day,
Nancy


Sunday, January 27, 2013

You Hold the Key

The past few days I've been working on some basic cards without Copic coloring.  Yes you read that correctly.  Having a few new paper pads that a recently picked up, I decided that I would put together a few cards just using paper and embellishments.

The card below was constructed using the Authentique Lovely Collection.  There are so many fun papers in this collection and I love that they have the smaller scale in the 6 X 6 paper pad, adding embossing from a Cuttlebug folder, some ribbon and gems from Michaels and here's the result....


Hope you enjoy!

Nancy

Friday, January 25, 2013

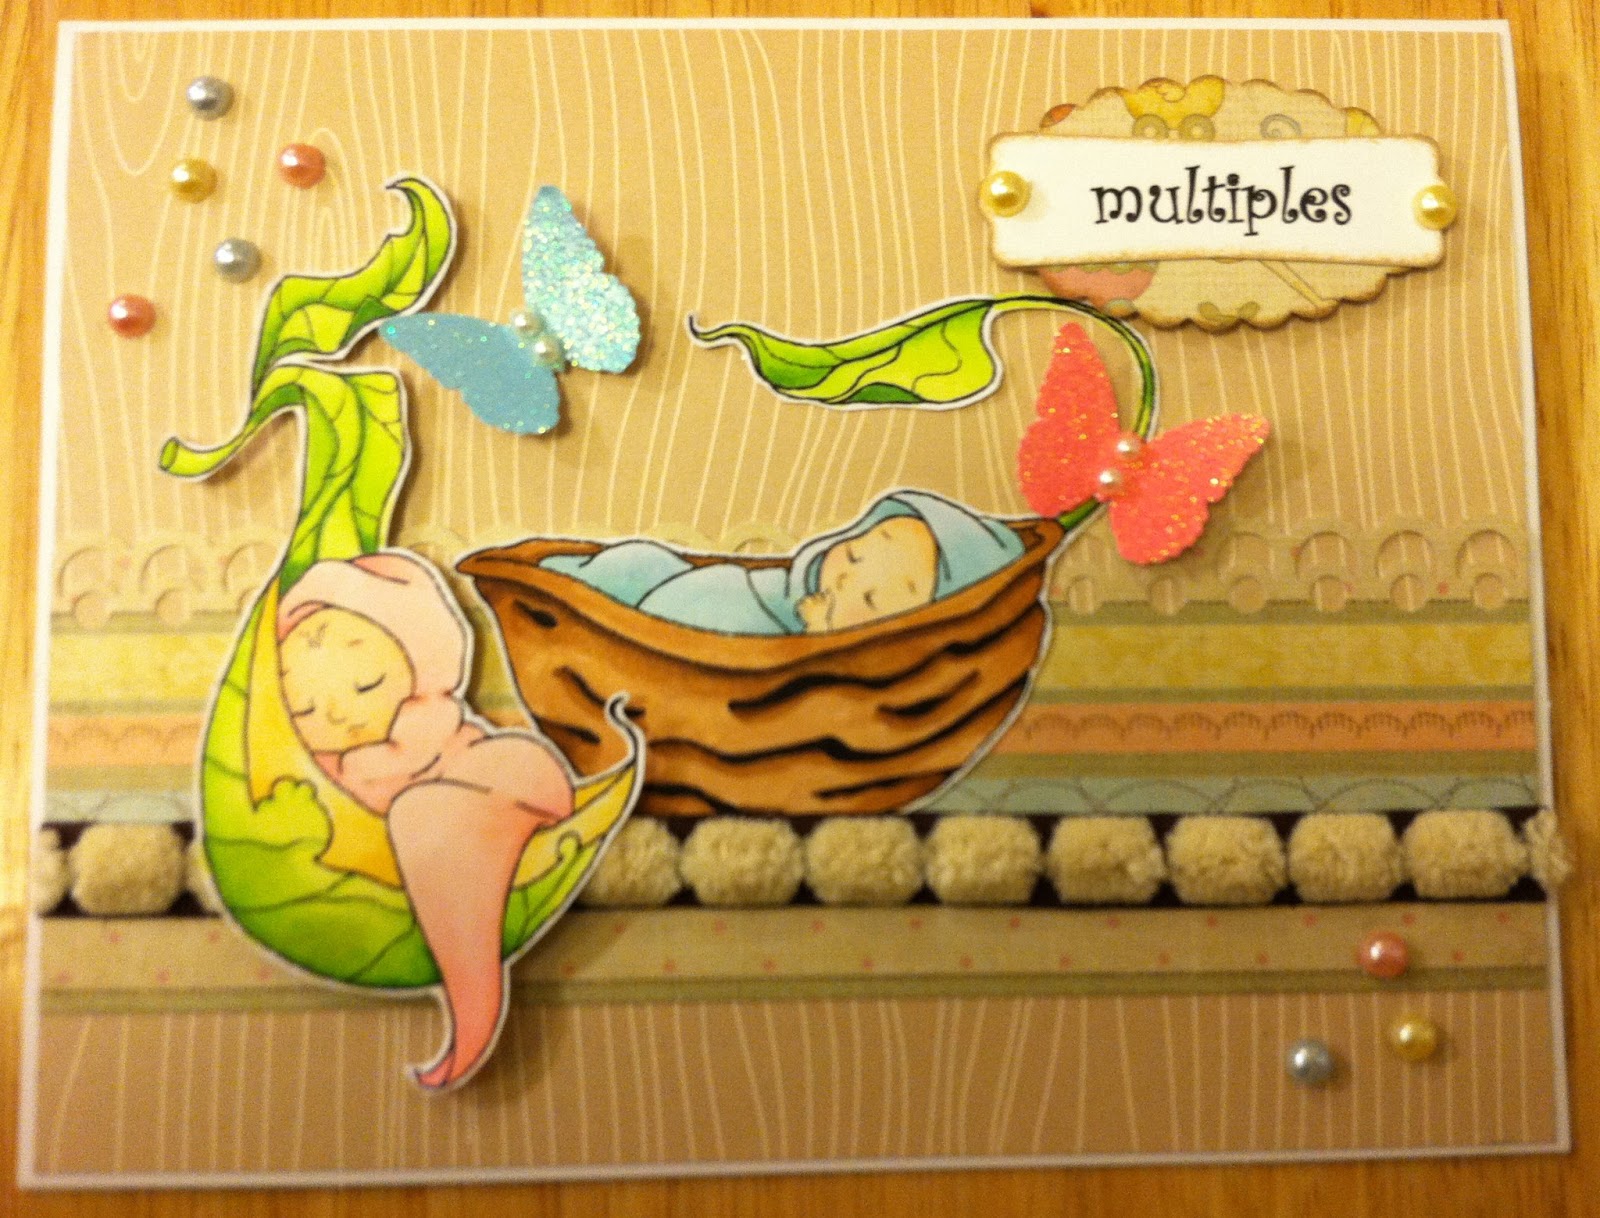
and then there were two....

So, I know it's been along time since my last post, but I think the cold weather just had my brain frozen for any creative ideas.

I want to share a card today that I created for one of the girls that's in my bible study and she recently delivered TWINS!  I am happy to say that everyone is doing well even though they were a little early.

I recently found these images from Sweet November (Sleeping Baby Fairies), and picked them up as digital's.  Well, I have found that I like them so much that I will be purchasing the actual stamps so I can stamp in different colors and also emboss the image.

sorry the image is a little blurry

Supplies:

Amuse' paper - woodgrain
The paper Studio - Sweet Pea Collection
Copic Markers Little Girl - E000,E00,E02,R00
                                              R000,RV42,RV21
                                              YG00,YG01,YG03,YG65
                                              YR30,YR31,Y21
Copic Markers Little Boy- E000,E00,E02,R00
                                               E33,E35,E57,E59
                                               Y00,Y01,Y03,Y65
                                               BG10,BG70,BG72
Misc - Pearl Gems, Ribbon, Computer Sentiment, Martha Stewart butterfly punch.


Hope You Enjoy,
Nancy
  

Wednesday, December 5, 2012

Holiday Cheer


I just love these Hero Arts Reindeer and they are so much fun to work with.
A simple one color for the sweater and a little color on the bodies and they are done.
The papers I used are from a Xmas petite paper pad from Lawn Fawn, the Festivus Collection from Recollections and Bazzill.  
Copic Markers are, BG23, R24, G14, BG72, E31, E35, E37


Nancy