Tuesday, January 22, 2019

And The Winner Is.....

I want to thank everyone who commented and joined the Blog Hop.
Also, don't forget to look if you won on another educators blog.

The Winner of a $15.00 gift certificate is
Karen N

You need to contact winner@altenew.com by 1/31/2019 with the subject line Altenew Educator’s Blog Hop Winner from Nancy McClellands Blog.


Nancy

Friday, January 18, 2019

Altenew Educator Blog Hop


Welcome to Altenew Educators Blog Hop!


As Altenew-Certificated Educators, we were asked to share our FAVORITE technique, style or product.  When I started my journey towards certification I had no idea what to expect.  During my journey I've learned fabulous techniques, developed a new favorite style and belong to a group with 'uber' talented designers.

You should have arrived here from Altenew Card Blog, but if not be sure to go back and visit Virginia's introduction.
You will also find a master list of the blog hop links at the Altenew Card Blog.


As promised, I want to share one of my favorite techniques.  Altenew has many cover dies in their collections and they have become my obsession.  They are my 'go-to' when designing a card.
A cover die is so easy to layer over colored paper or just a plain white card base for a classic/monochromatic look.  
Another favorite of mine is basic paper piecing for that additional accent. Today I have done just that using a little gold paper.


I selected the Cube Cover Die along with the Striped Florals Stamps and Die set.  This stamp set is very versitile and that's why when I use it I always stamp lots of extra images to keep in the package for future projects.  This time I stamped and embossed the images with Altenew Antique Gold embossing powder.  Altenew Watercolors were used to color the stamped images.  
As mentioned I love paper piecing so selected a small portion of my card front to feature the gold accent. 


After I die cut the gold paper I carefully placed Glad Press n Seal on the back of the die to keep all the bits secure.  Now I can add them back into the white die cut panel and attach with a small amount of liquid adhesive.


One of my other favorite things to do is use foam tape for dimension.  This card is no exceptions when it came to adding all the floral images to the card. 
Lots of layers and dimension here.
 The small 'HELLO' sentiment can be found in the Leafy Canopy stamp set.

You can go here to see the process for putting this card together.


I also want to share another fun card that I put together using my favorite technique.  
This card is simple and monochromatic with a few gems for accent.


Prizes:
Altenew is giving away a $30 Gift Certificate to THREE lucky winners!  Please leave a comment on the Altenew Card Blog by January 23rd for a chance to win.  Three winners will be announced on the Altenew blog on 1/25/19.

Also, I have a $15 Gift Certificate to give away,so please leave a comment and I will announce the win January 22nd here on my blog.


Thanks so much for stopping by and joining our blog hop today.  

Your next stop is 
Kelli Cool  The complete blog hop is listed below.


Wednesday, January 16, 2019

Altenew Stencils

I finally had a chance to play with a couple of my new stencils from the last release.  I wanted to do something simple and create a basic background.  Having extra sentiments on hand make it very easy to put a quick card together.  I love this Mega Hello Die from Altenew.
This card features Altenew Beveled Squares Stencil along with Gentlesmens Gray Mini cubes.

  I used scrap gold paper under the large hello sentiment.


This next card features the Sunburst Stencil.  Using a couple of inks from the Sweet Dreams set I placed my design a little off center on the card front.  The ‘thinking of you’die is one of my staples for sentiments.  I simply layer several die cuts together which adds a little dimension.  Using a few pieces of scrap paper adds the final detail


My final card uses the Floral Mandala stencil.  I placed the stencilsng pattern.  I chose the Pocketful of Sunshine Ink set to add various colors.
Fine Frames Rectangles was used to cut several silver frames to place at different angles on the card front panel.   The next step was to use the Bold Alphabet Dies to add the ‘hugs’ sentiment.  The sentiment has a paper layer over black fun foam to add the dimension.


I hope you enjoyed these couple of simple cards and got some inspiration to use with your stencils.

Thanks for stopping by today.

Nancy

Tuesday, January 8, 2019

So Simple

I've been working on a project for next week and have some extra cards that I want to share.
This card is so simple because I used Altenew Peach Gold Washi Tape for my back ground and then just place a simple flower and sentiment for finish the card.


I have become somewhat obsessed with Altenew's wide washi.  It is so fast and easy to use.

After adhering the washi tape to the card base I stamped a flower from the Build-A-Flower Poppy set and then colored the pieces using Altenew Tea Party Ink and Artist Markers.  Just die cut the images and attach to the card front.

Once again, this is so simple!

Thanks for stopping by


Nancy

Sunday, January 6, 2019

Flowing Hearts

Working with a new Altenew stencil from one of the recent releases.  
 The Flowing Heart Stencil was perfect to do a little ink blending for a Valentine card.  I used inks from Altenew Rose Petal, CherryBlossom and Enchanted Garden collections.
After I finished the ink blending I selected a small heart from the Altenew Halftone Hearts set to add accents.


Choosing the 'L' from Altenew Classic Alphabet die and the the 'o,v,e' from the Altenew Calligraphy Alpha set.
Adding a couple of finishing touches using Altenew Antique Silver Ink Spray and enamel dots accents from the Altenew New Day Card Kit

Thanks for stopping by and letting me share.  


Nancy

Saturday, January 5, 2019

Let's Do A Little Paper Piecing

Today I have a small amount of time to play before I start another new project so I thought I would share and old but fun technique.

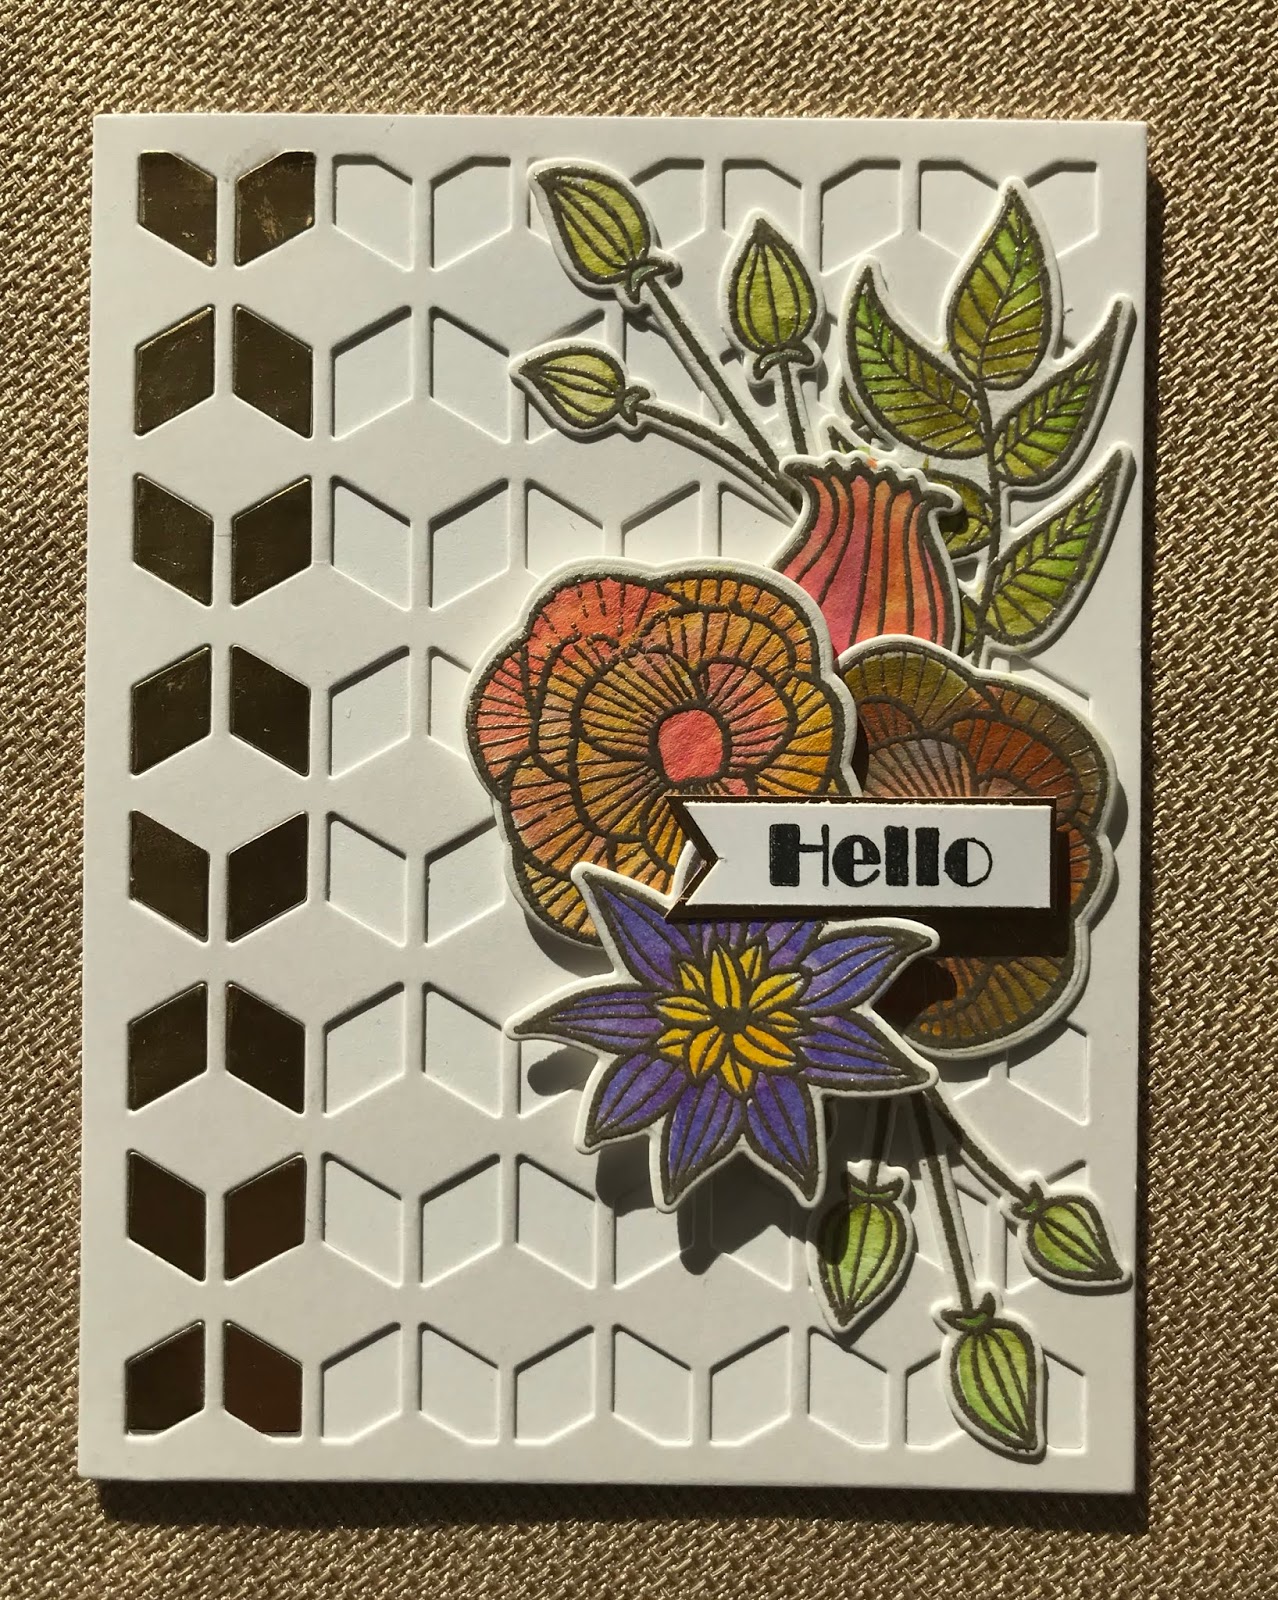
I believe you get such a stunning results when you put all the little paper pieces back into a die-cut.
I selected Altenew Antique Engravings Cover Die and colored my paper pieces with 


I started by cutting the cover plate die out of plain white card stock.
When finished, I carefully removed it from my die-cut machine trying to keep all the little pieces intact and still attach to the metal die.
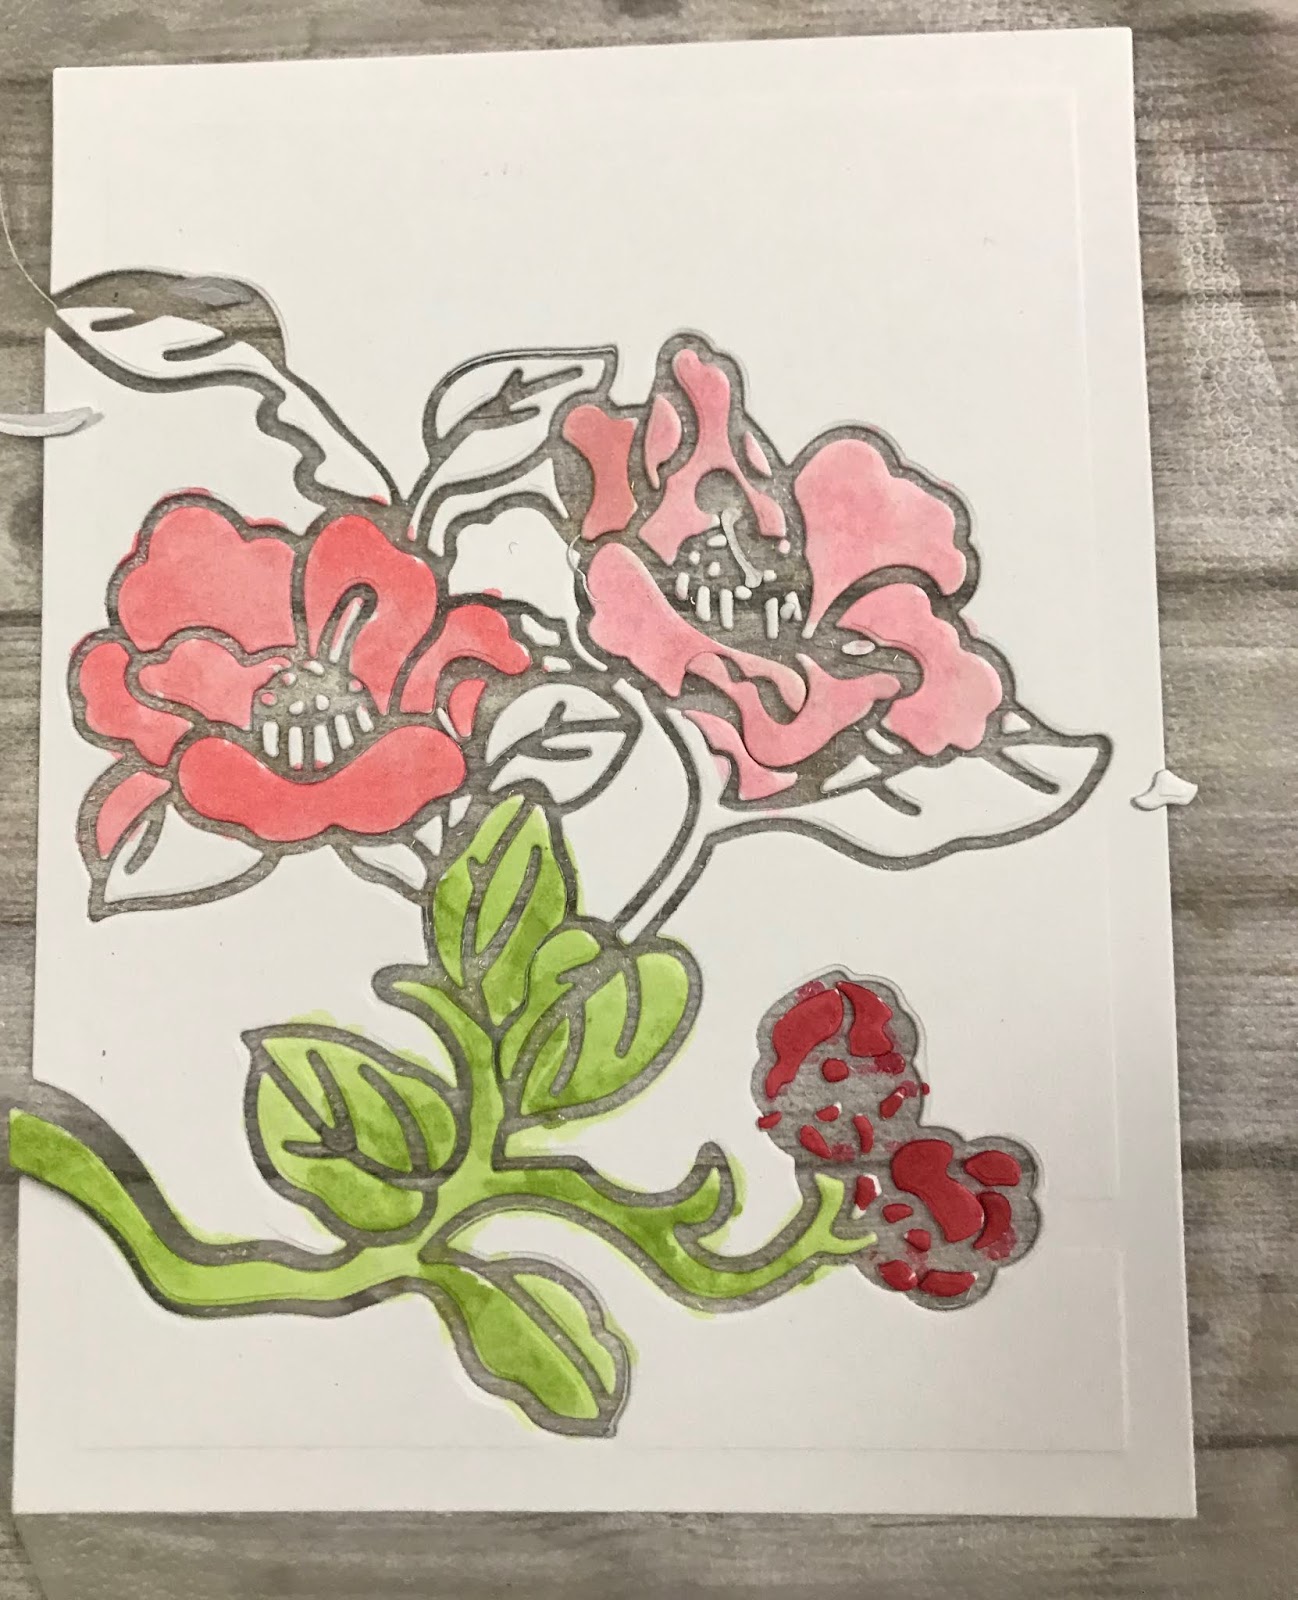
Now, using Glad Press-n-seal, I covered the image and adhered all the pieces to the plastic wrap.


It's very hard to see but the image on the left has the Press-n-seal under all the pieces.  After I removed the floral frame most of them all stayed in place. 
Now the fun begins.  
I started coloring some of the pieces with my Artist Markers which was easy since they were all stuck in place.  


Selecting only the pieces I wanted to used, I can now start gluing them onto my panel and Floral frame.


I find this fun and therapeutic, call me crazy.


Finishing touch is adding a simple sentiment from Altenew's Cross Stitch Flower set.

Thanks for stopping by today and I hope this technique gave you some inspiration.


Nancy


Wednesday, January 2, 2019

Hanging With My Gnomes

Oh these Gnomes!!
I just love these guys and have featured them in my January Copic class.
They are from Stamping Bella and are so easy and fun to color.


I just wanted to do a quick share to start the New Year.  
Thanks for stopping by 


Nancy